Color Map Explanation
Color Maps enable you to create almost any kind of effect you like.
See available color maps that you can copy and paste…
Changing the Color Map
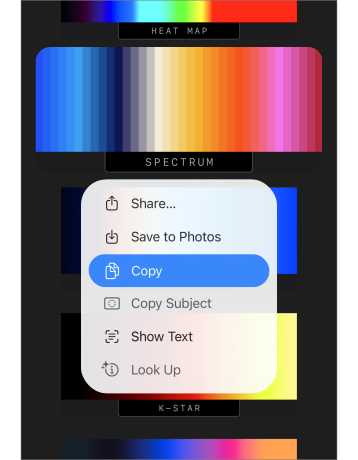
Long-press on an image on a web page then tap "Copy":
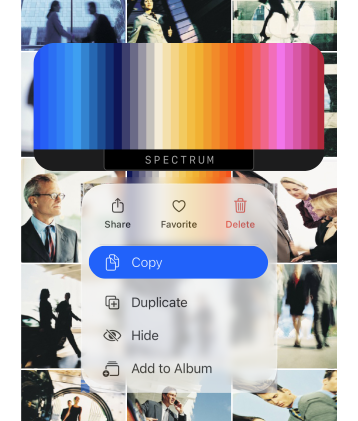
Or in your Photo Library:
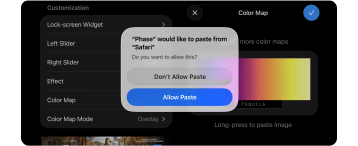
Then long-press the current color map in Settings and tap "Allow Paste":
How It Works
A color map is a horizontal gradient that interacts with the colors of your photo.
- the left side of the gradient affects the darker tones
- the right side affects the lighter tones
Transparency affects intensity — an entirely transparent part of the gradient will leave the original image untouched.
The first row of pixels in the gradient image defines the color map — if an image doesn't work, the first row of pixels may be solid color.
Color Map Mode
There are three modes that determine how the Color Map will interact with your photo:
Replace (default): colors in the photo are replaced with colors from the color map.
Overlay: colors in the left half of the Color Map make your image darker, and colors in the right half make it lighter.
RGB color channels are treated separately, so the blue of a bright blue sky might be affected by the left half of the gradient
Hard Light: colors in the Color Map affect your image to the extent that they deviate from 50% gray (a solid 50% gray color map would have no effect).
Again, RGB color channels are treated separately.
Hard Light differs from Overlay in that Overlay prioritizes the colors of the original photo whereas Hard Light completely replaces them.
For Photoshop Users
You can create your own color maps:
- the top row of pixels defines the Color Map
- 1500x660px looks best (but any resolution will work)
- test using a Gradient Map layer in Photoshop
- use Normal, Overlay and Hard Light modes to view results
- save as JPG (opaque) or PNG (if using transparency)
See available color maps that you can copy and paste…